This describes how to use the Snipping Tool in Windows 7, 10. See here for how to use the newer, but less functional, Snip & Sketch. Or this much better solution: GreenShot.
| Start Menu -> type “snipp” > click Snipping Tool from the Start menu | 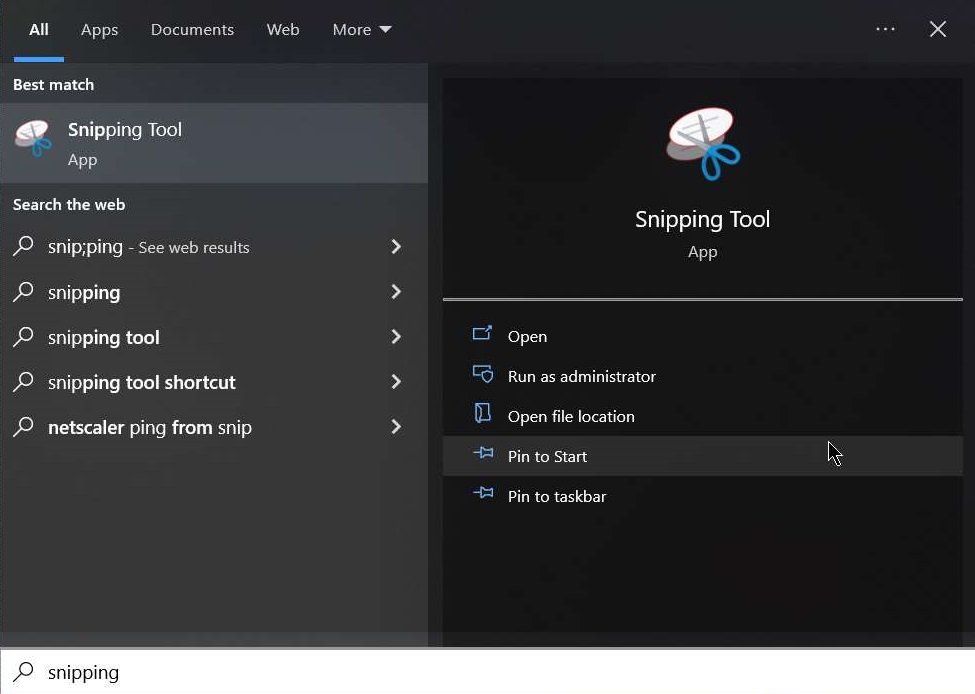 |
| click New Snip | 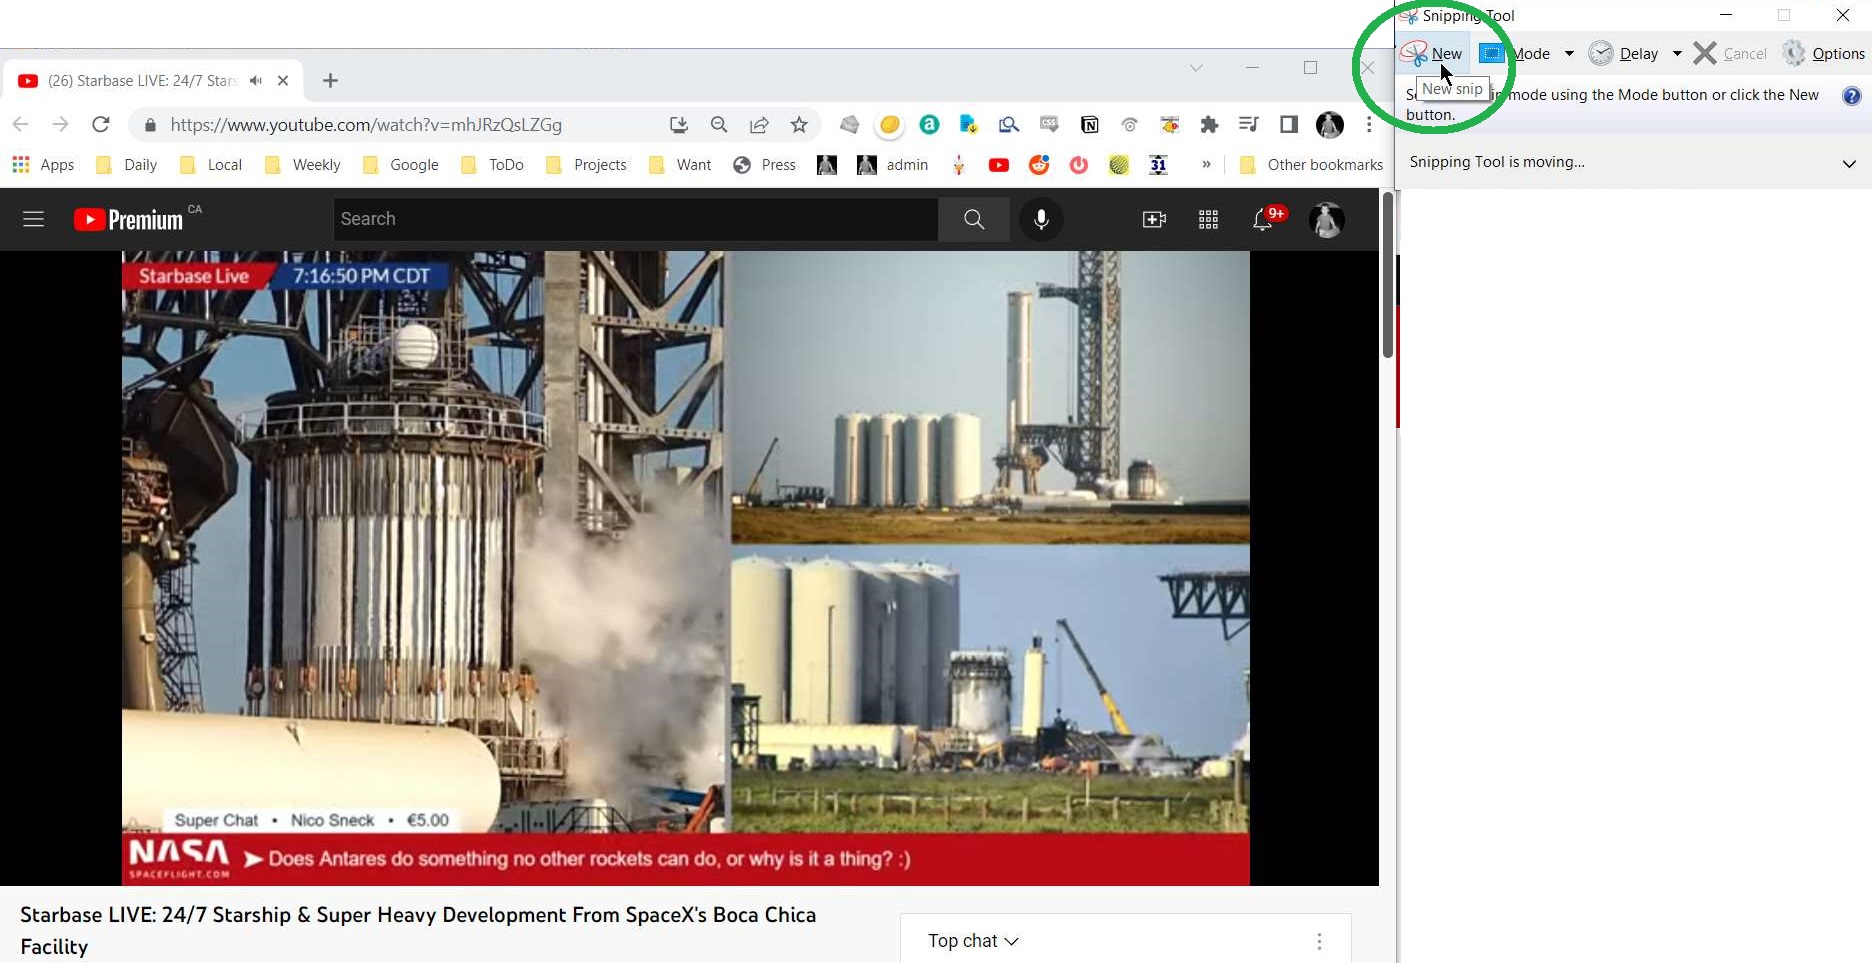 |
| The screen should stop and go whitish. Drag a window around the thing to be snipped. It can be as large or small as required. In the image to the right, I am just capturing the stuff in the yellow box. Depending on your computer’s settings, the snipping box will look different. | 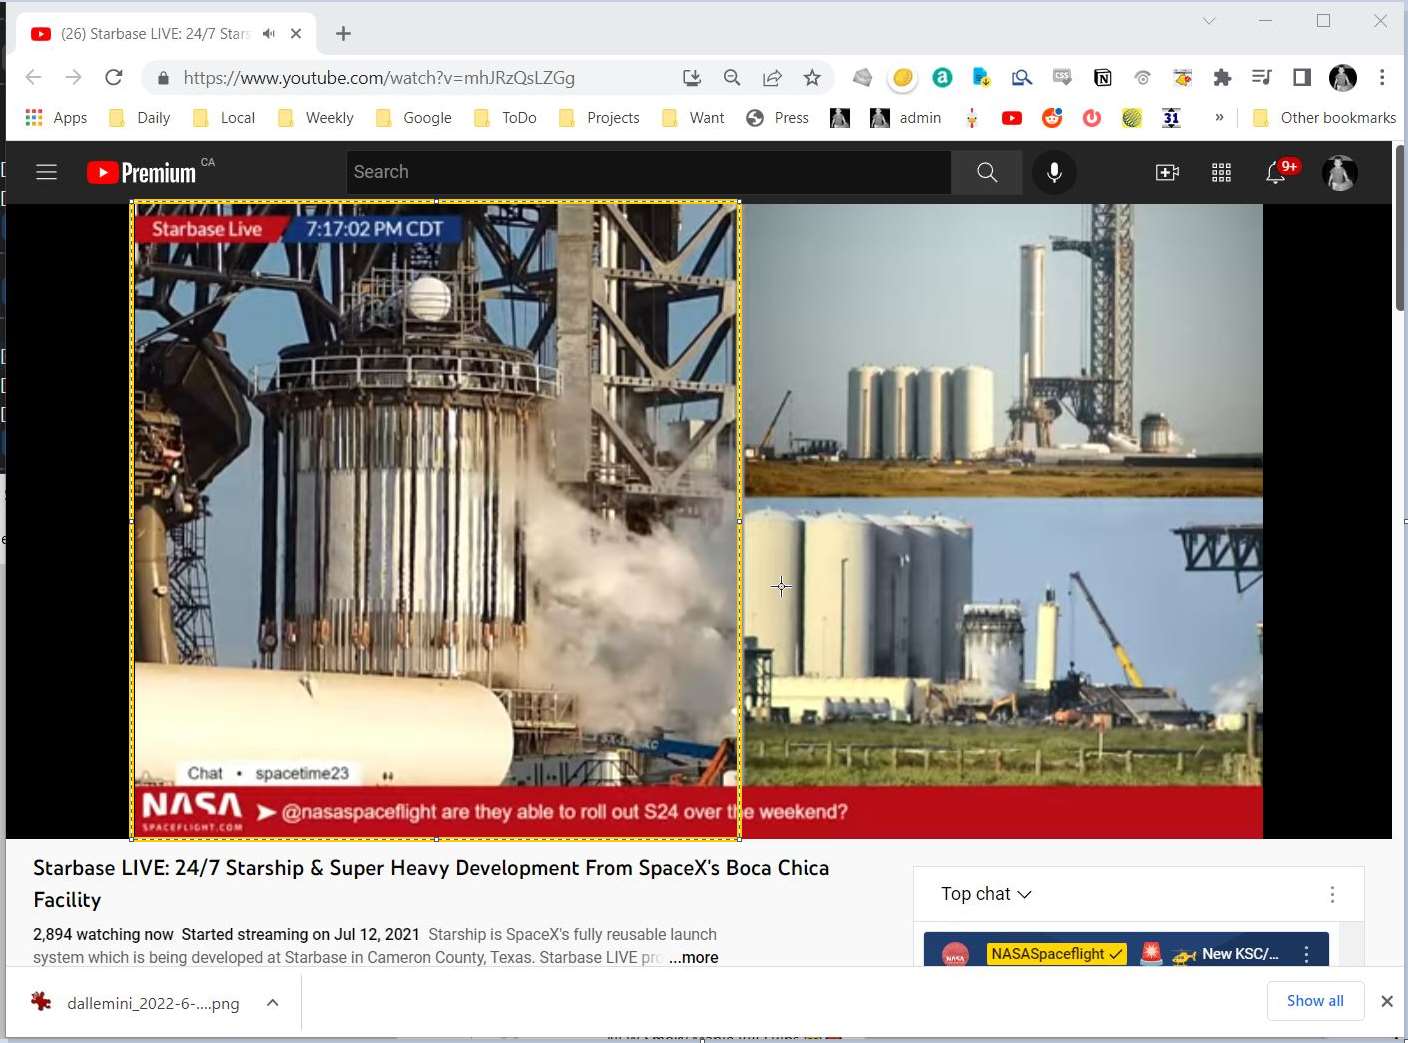 |
| Once the snipping box is selected, you will be returned to the Snipping Tool with the stuff you selected in the frame. there are some primitive but very useful markup tools in Snipping Tool Once ready to send, click the Email icon -> Email Recipient (as attachment) | 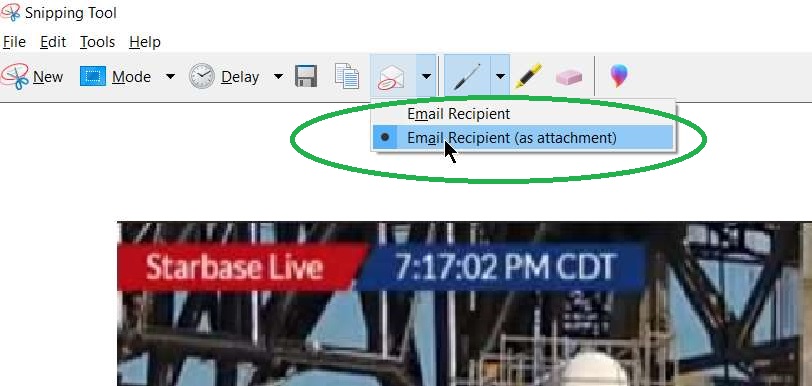 |
| Assuming your computer has a default email client configured, the snip should now be in an new email, as an attachment, ready to send. Fill out the To: and other fields -> Send | 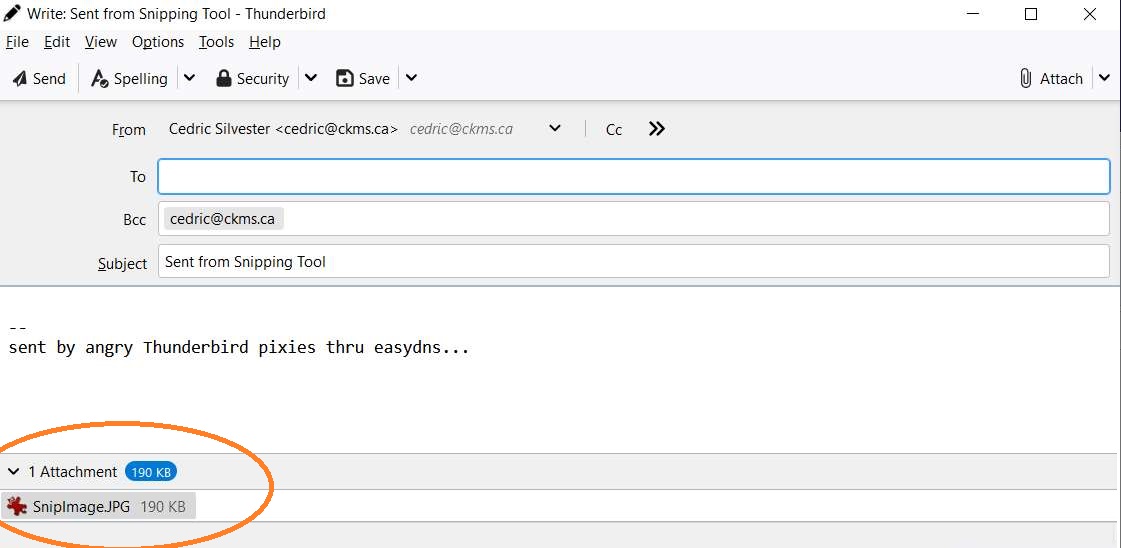 |